Valentine Ideas
Please click on each of the pictures to enlarge!
|
Monthly Wooden Block
An on line link will be provided to access the directions and patterns. Please make sure you provide the correct email address for me to be able to send you this link. There are no shipping charges since this is a digital link. You will be able to start your projects as soon as you receive this link.
The blocks that the children make use a 2x4x6 inch piece of wood. They last forever and will be a family treasure for many, many years to come. Many parents tell me that they still have all of the blocks and use them each year! You could also use these blocks for your Cub Scouts or Brownies. The whole year of crafts!
You will receive detailed directions to make the following:
September—Apple man ( see sample) October Pumpkin man November Turkey December Reindeer January Snowman February 2 different blocks for Feb--Cupid and Abe Lincoln March Leprechaun April Bunny May Bee
This is a great time to get started. I will provide the link for you as soon as I receive payment for you to be able to get started right away on your monthly blocks!! The cost will be $14.99 with no shipping charges. If you would like to pay with a credit card, click below on the link. If you would like to pay by check, please contact me. Thanks! J
These plastic hearts were purchased at the local craft store to make necklaces. They open up to hold treats or whatever you would like. We used BioColor paint purchased from Discount School Supply. Each child put several drops of pink, white and/or red inside the heart. We closed it very carefully and then they shook the heart to make the paint spread all over and marbleize. Each one was very unique but very pretty. We attached a red cord for each child to wear around his/her neck.
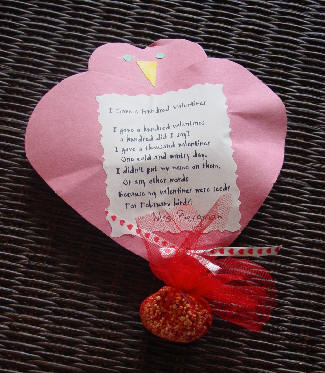
I Gave a Hundred Valentines
Poem: I Gave a
Hundred Valentines
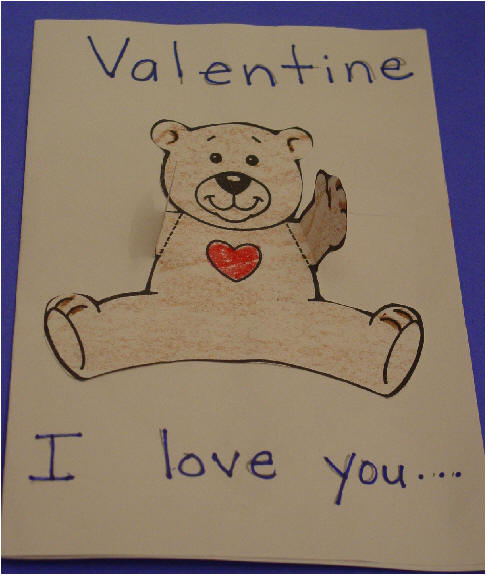
Valentine
Cards
I love you....THIS MUCH! The top photo is the outside of our Valentine card. On the inside we put a picture of the child with outstretched arms with the words "THIS MUCH!" See photo below.
|
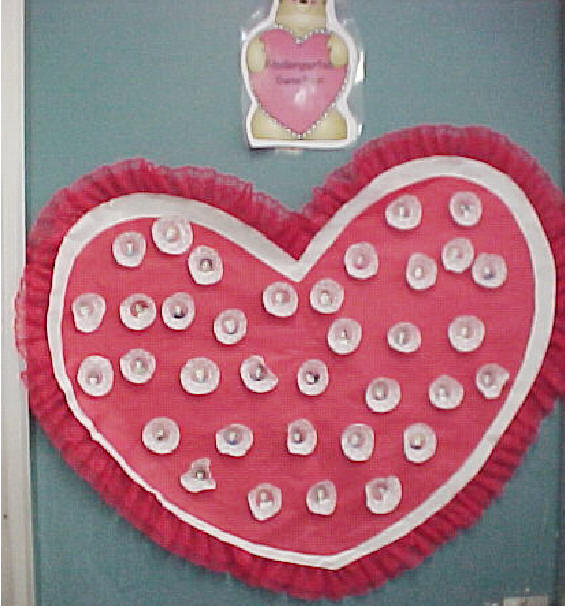
Kindergarten Sweeties!
Two large hearts were cut using red and white butcher paper. Red lace was used for the outside border. Since I had two classes of pictures to display, the heart was big. Small candy paper cups were used to put each child's picture in the center of the candy cup to make it look like a big box of chocolate candy. We used the title of "Kindergarten Sweeties" with a bear holding the heart. Hanging Frilly Hearts
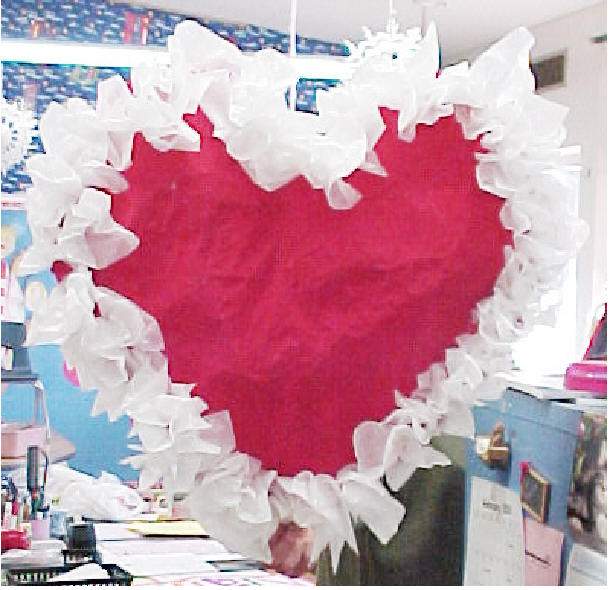
These hearts were made using several layers of newspaper. You can make them any size that you would like! The heart in the picture is about 15 inches long. I cut each heart using at least 6-8 layers of newspaper. Then I stapled them all around the outside, leaving a small opening to stuff them. I had at least three layers of newspaper on each side when stuffing the heart. This prevents it from getting too soggy when we painted them. We used newspaper scraps to stuff! Then we painted the hearts in red or pink. After they were dry, we used white tissue paper (4 inch squares) to wrap around a pencil, dip in glue and stick to the outside edge of the heart. We hung them from the lights with yarn.
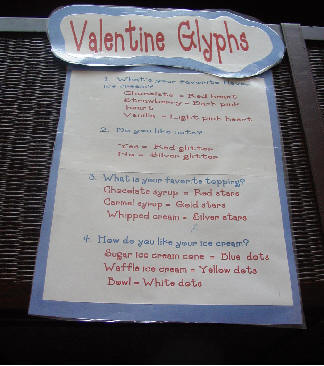
Valentine Glyph
We made our glyphs according to the following directions. 1. What's your favorite flavor ice cream
Chocolate= red heart
2. Do you like nuts?
3. What's your favorite topping?
4. How do you like your ice cream?
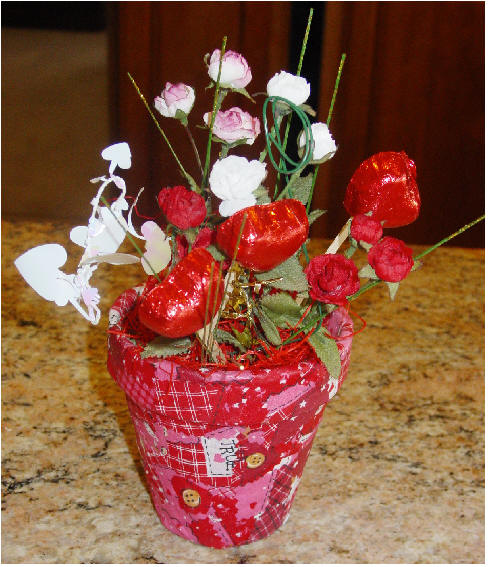
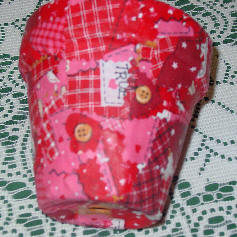
These flower pots were donated to our classes last year. I am not sure we will be able to afford the pots again! But, the pot was covered with small pieces of red fabric scraps. (see close up below) The children painted the pot first with white glue, then they put the scrap of fabric (approx. 1 inch square cut with Pinking shears) on the pot and painted another coat of white glue over it. The fabric was completely covered with white glue. The pieces were overlapped. This requires lots of adult help! We used a small block of floral Styrofoam to put inside the pot. We stuck in flowers, pieces of a foil floral garland, and red foil covered chocolate candy that were glued to a craft stick. We also used a piece of floral wire that was bent in a spiral to hold a picture of each child in a heart shape! The sample does not show the photo. This is a close up of the pot. This was all one fabric that was a Valentine quilt type fabric, but any red or pink fabric would do. This is a close up of the flower pot.
Melanie's Valentine Story
This is a great story that you tear the heart as you tell the story. The kids love the story with the visuals. Click on the heart above for the directions and story!
This wreath was made using a white paper plate. The center was cut out and the hearts attached around the outside. We used red, white and pink hearts and decorated each heart with contrasting crayon designs. A crepe paper bow was attached at the top.
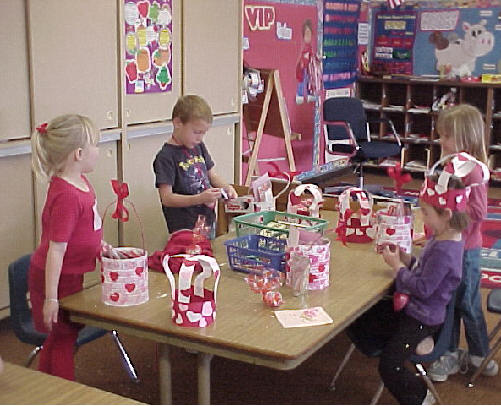
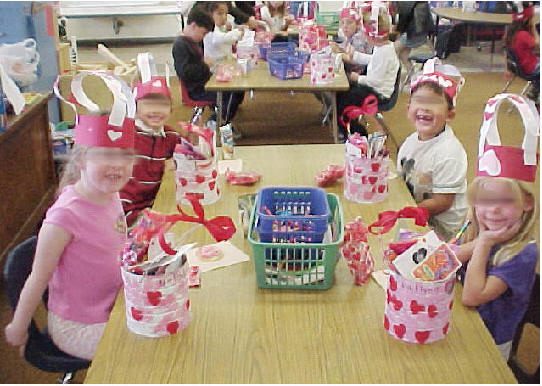
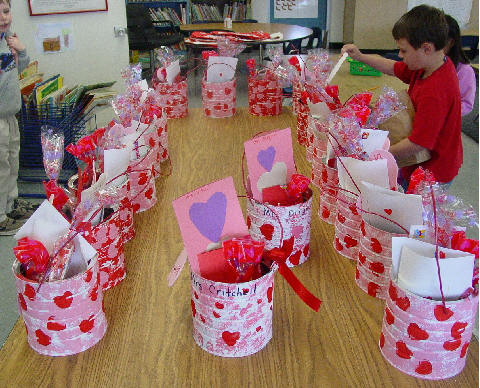
Valentine Containers
Some of the
children decided to paint one coat of white paint, then sponge paint
another color on top and a third color was used for the hearts. We
used a combin
|
 Plastic Heart Pendant or Ornament